Quick Answer
How do you make crispy buffalo roasted chickpeas?The key to truly crispy chickpeas (not chewy or soft) is aggressive drying before roasting: drain canned chickpeas, spread on a paper towel, and let them dry for at least 30 minutes (or 2–4 hours uncovered in the refrigerator). Remove as many skins as you can — they prevent crisping. Roast at 400°F for 35–40 minutes until they're dry and begin to crack. The first coat of buffalo sauce goes on at 30 minutes; the second coat at the end. This two-stage application creates a caramelized outer layer while maintaining crunch.
Why Most Buffalo Chickpeas Aren't Actually Crispy
The most common failure mode for roasted chickpeas: they come out of the oven seeming crispy, then turn chewy within 20 minutes. The cause: residual moisture inside the chickpea that wasn't fully driven out during roasting. When the hot chickpeas cool, steam condenses back into the interior and softens the crispy shell.
Three factors determine whether your chickpeas stay crispy:
- Pre-roasting dryness: The more moisture you remove before they enter the oven, the less moisture needs to be driven out by heat. Dry thoroughly, remove skins, and air-dry if you have time.
- Roasting temperature and time: 400°F for 35–40 minutes (not 375°F for 25 minutes — too gentle). You want the interior to fully desiccate, not just the exterior.
- Post-roasting air exposure: Spread in a single layer to cool, never pile in a bowl immediately. Trapped steam from a pile of hot chickpeas softens them within minutes.
Buffalo Roasted Chickpeas
Ingredients
- 2 cans (15 oz each) chickpeas, drained and rinsed
- 2 tablespoons olive oil
- 1/2 teaspoon salt
- 1/2 teaspoon garlic powder
- For buffalo sauce: 3 tablespoons Frank's RedHot + 1.5 tablespoons melted butter
- Optional: 1/4 teaspoon cayenne for extra heat
Method
- Drain and rinse chickpeas. Spread on a clean kitchen towel or multiple paper towels.
- Roll the towel over the chickpeas and rub gently — this removes some skins and begins drying. Pick off and discard any loose skins.
- Spread in a single layer and let air-dry for at least 30 minutes. For best results: refrigerate uncovered on a paper towel-lined plate for 2–4 hours.
- Preheat oven to 400°F.
- Toss dried chickpeas with olive oil, salt, and garlic powder. Spread in a single layer on a rimmed baking sheet — don't crowd them.
- Roast 30 minutes, shaking the pan every 10 minutes.
- While chickpeas roast, mix Frank's and melted butter for buffalo coating.
- At 30 minutes: drizzle half the buffalo mixture over chickpeas and toss quickly on the pan. Return to oven for 8–10 more minutes.
- Remove from oven. Add remaining buffalo sauce, toss again.
- Spread on the baking sheet to cool for 10 minutes before serving — don't pile in a bowl yet.
Tips
- The skin removal step is the single biggest factor in crunchiness. Chickpea skins are papery and steam-trap moisture. Remove as many as you can in the drying step — they come off easily when dry.
- Two-stage sauce application: first coat at 30 minutes bakes in and caramelizes; second coat at the end adds fresh flavor. Don't sauce before roasting — the sauce steams the chickpeas.
- If your chickpeas are losing crispiness within 30 minutes of cooling: they weren't dried enough before roasting. More drying time, or roast 5 minutes longer.
Variations
Extra Hot Buffalo Chickpeas
Increase Frank's to 4 tablespoons in the buffalo sauce and add 1/4 teaspoon cayenne + 1/4 teaspoon crushed red pepper. For habanero heat: substitute 1 tablespoon of Frank's with habanero hot sauce.
Buffalo Ranch Chickpeas
After the final buffalo toss: sprinkle with 1 teaspoon dried dill, 1/2 teaspoon dried parsley, 1/4 teaspoon onion powder, and 1/4 teaspoon garlic powder — approximating ranch seasoning. The buffalo-ranch combination is excellent as a snack.
Vegan Buffalo Chickpeas
Use vegan butter (or simply omit butter for a leaner version — straight Frank's works as a coating for chickpeas without the butter emulsion that's critical for wing sauce). The chickpeas' crunchiness provides the textural satisfaction that normally comes from the butter-gloss of wing sauce.
Serving and Storage
Buffalo roasted chickpeas are best within 2 hours of roasting — the crispiness peaks when freshly cooked and gradually softens over time due to the sauce's moisture content. Serve:
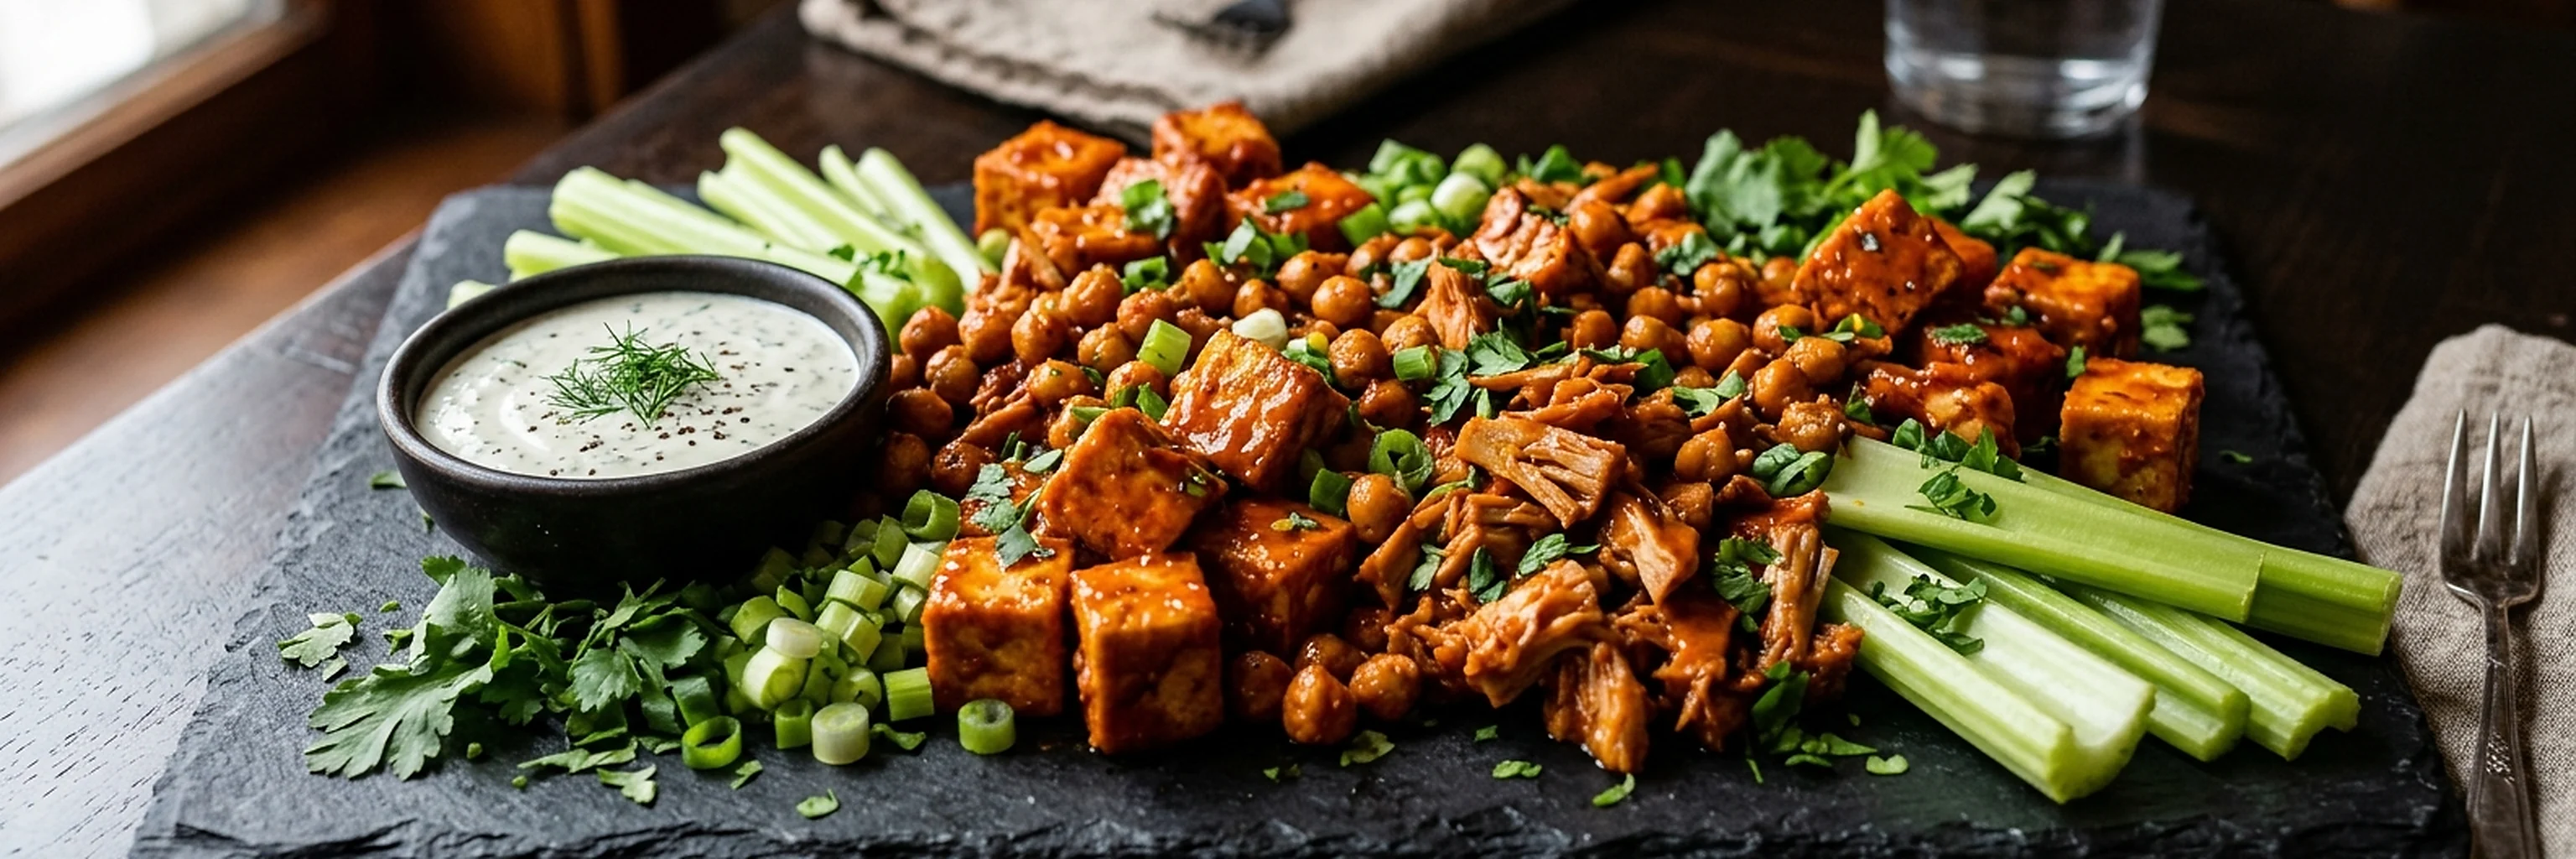
- As a standalone snack bowl alongside celery sticks and ranch or blue cheese dip
- Tossed over a buffalo chicken rice bowl for crunch
- Added to salads for protein and texture
- In a party snack mix with pretzels and cheese crackers
Storage: room temperature in an open container (not sealed — trapped humidity softens them fast) for up to 4 hours. For longer storage: reheat in a 375°F oven for 8–10 minutes to re-crisp before serving.
💡 Air Fryer Chickpeas
Air fryer produces chickpeas that are crunchier and more evenly dried than the oven method: 390°F for 18–22 minutes, shaking every 7 minutes. The air fryer's high-velocity circulated air drives moisture out faster than a static oven. Apply buffalo sauce the same way: toss with half the sauce at 15 minutes, finish with remaining sauce at the end. Air fryer chickpeas often stay crispy for an extra hour compared to oven-roasted, making them better for bring-to-party situations.